Be yourself; Everyone else is already taken.
— Oscar Wilde.
This is the first post on my new blog. I’m just getting this new blog going, so stay tuned for more. Subscribe below to get notified when I post new updates.
Family food secrets and favourites
Be yourself; Everyone else is already taken.
— Oscar Wilde.
This is the first post on my new blog. I’m just getting this new blog going, so stay tuned for more. Subscribe below to get notified when I post new updates.
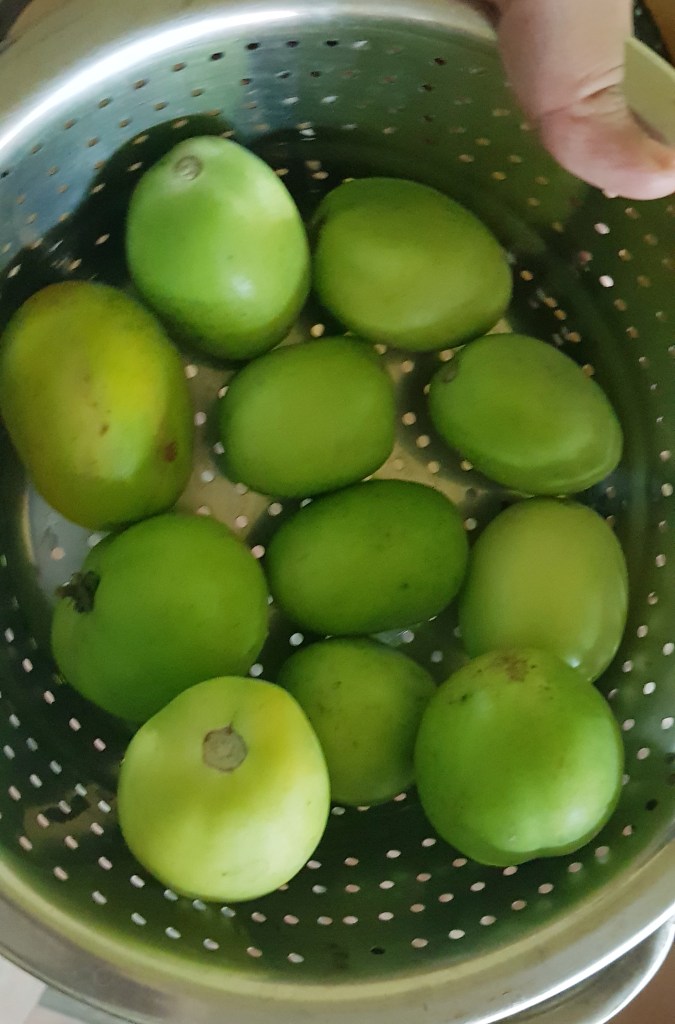
My local vendor has been learning from his jio internet and he exhibited his skills today. I went to the market to pickup a few vegetables and he questions me “Didi do you know what contains a lot anti-oxidants and Vitamin C in this season??” . I was clearly not able to answer his question and inquired what they were and he shows me these lovely looking Unripe Tomatoes. I did not know what to make of them but wanted to try something. I got a very few of them home and immediately called my mom and told her this and she mentioned half a dozen recipes and that filled me with nostalgia of my grandmother plucking these from our home garden in the village and making a very yummy tangy chutney in rokalu . Under her supervision over phone I had learnt to make this chutney and also Pachi Tomato Aava pettina Koora. Here goes the recipe of the pachadi which goes with anything , be it Rice or Dosa or Idli or Pesarattu. Please let me know your version of this Chutney.
Preparation Time : 5 Minutes
Cooking Time : 30 Minutes
Ingredients :
Preparation :
Things to Remember :
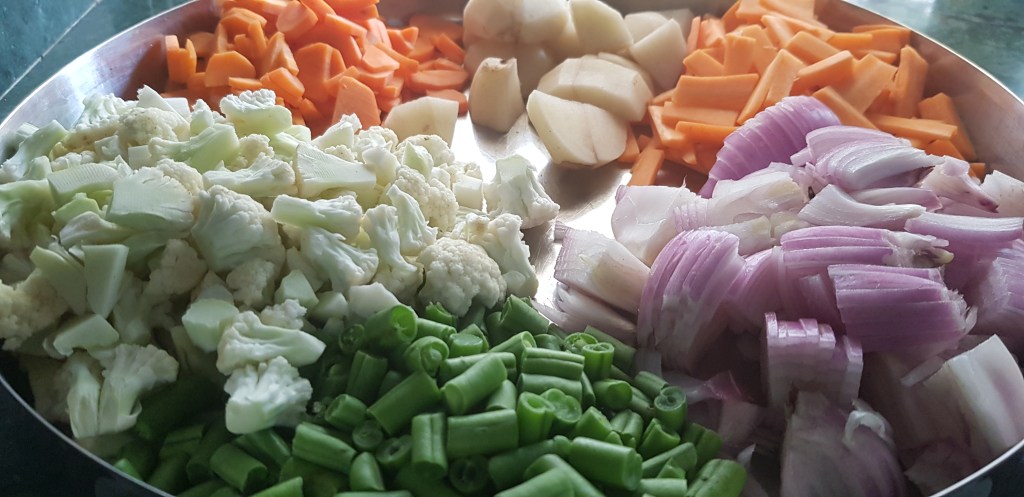
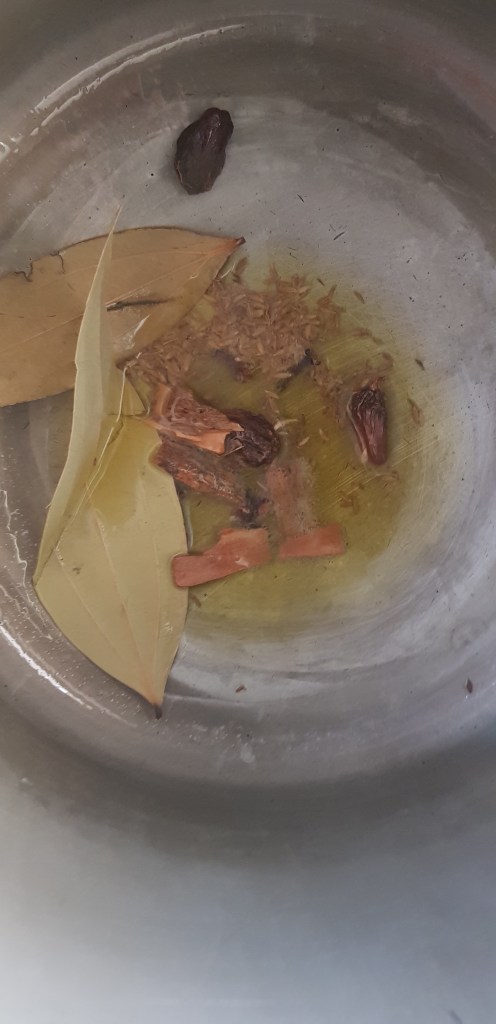
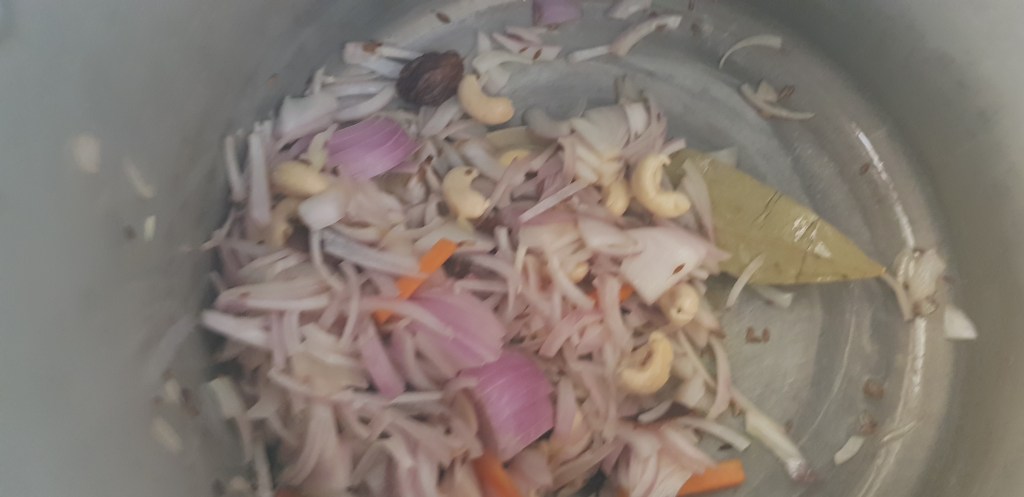
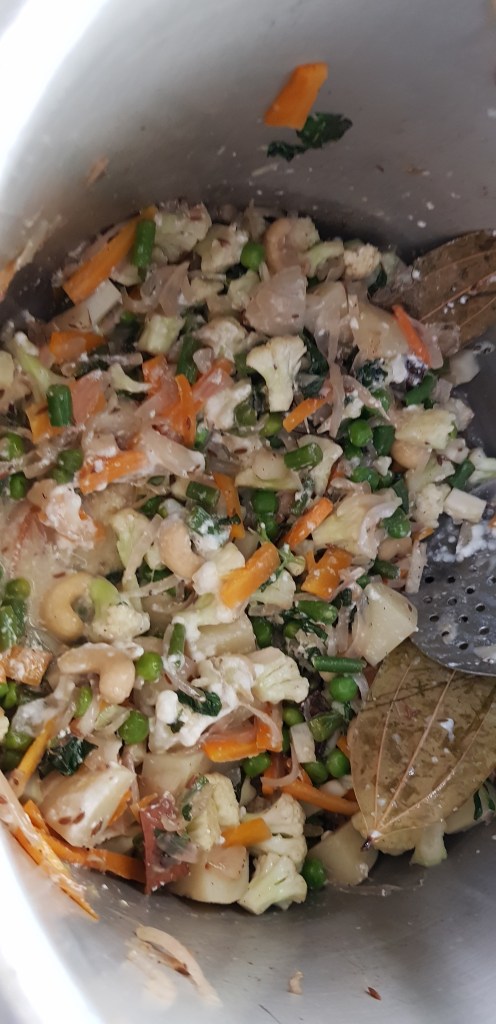
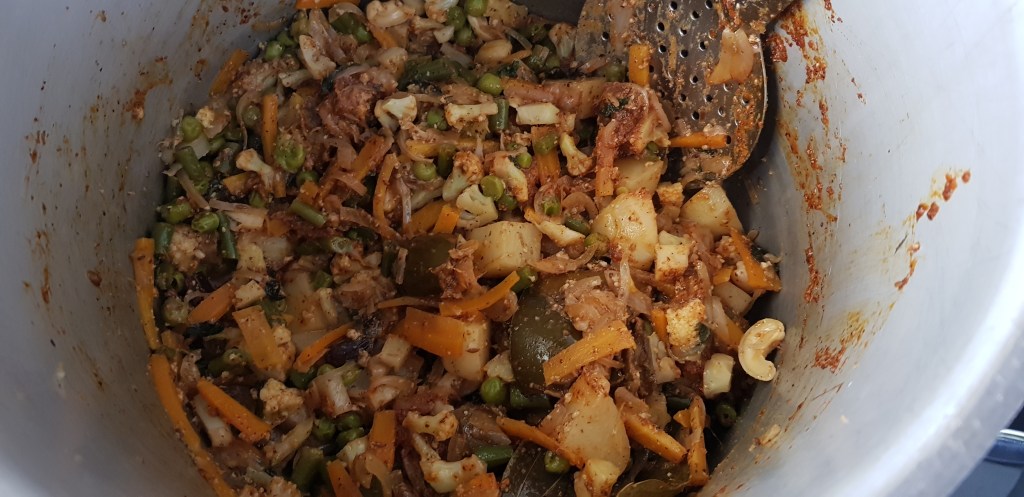
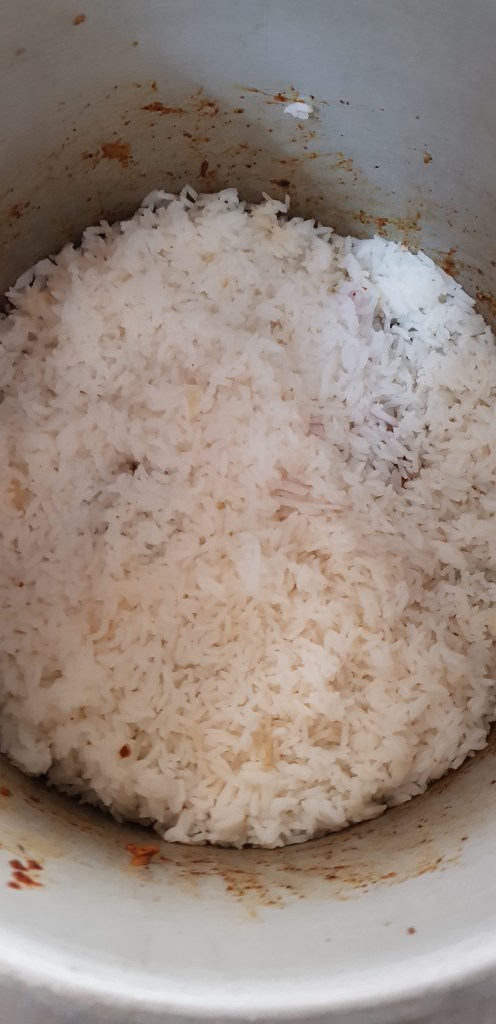
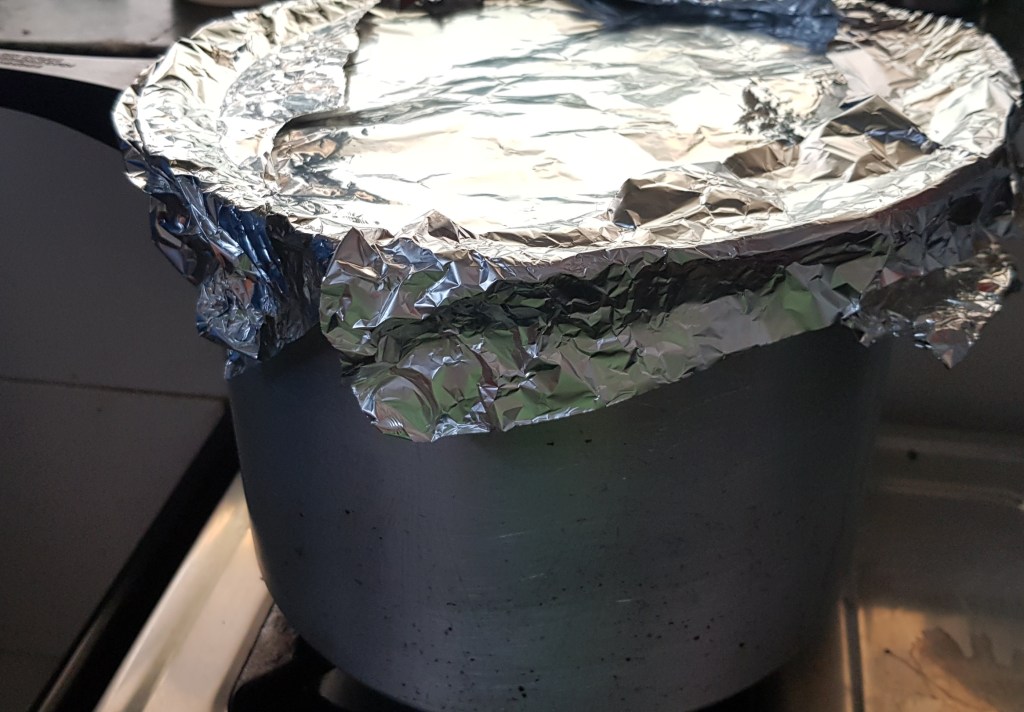
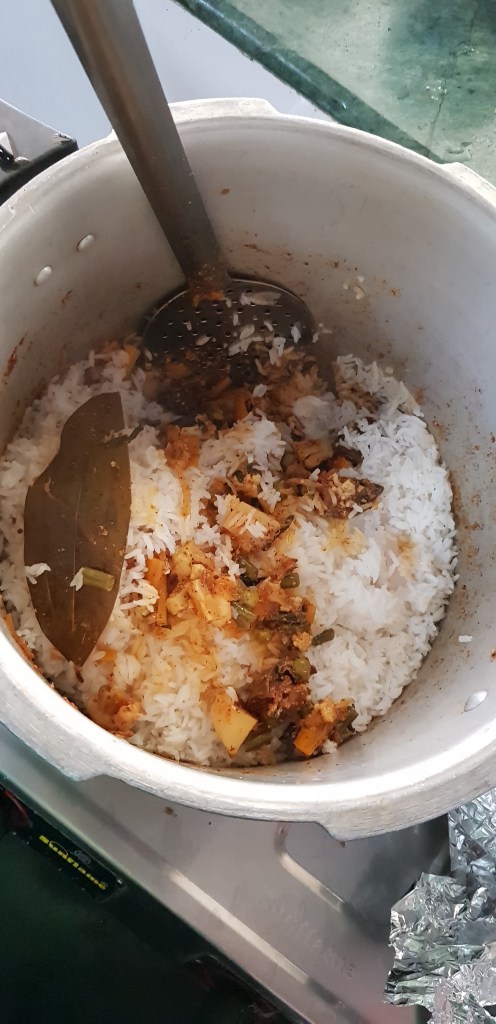
Trial and error method is a fundamental method in problem solving and the same goes to cooking new dishes. This particular dish though did not take many trials …the ingredients were something that I had added not with perfection but with careful tasting in each step and it turned out finger licking good. I had watched the movie Avakai Biriyani for this recipe and trust me they are no way connected. I always thought dum style cooking is for restaurants but tried the dum style for the first time after my friend convinced me that it easier and yummy that way and I hate to agree with her but she was so true. The Avakai or the magic ingredient as I call it in this recipe is a very subtle yet dominating flavor bringing out the tanginess but not killing the spiciness of biriyani . So here goes the recipe Avakai Vegetable Dum biriyani. For your convenience i have added a step by step procedure as its somewhat a new dish to many .
Ingredients for Avakai Dum Biriyani :
Preparation Time : 30 Minutes
Cooking Time : 30 Minutes
Recipe :
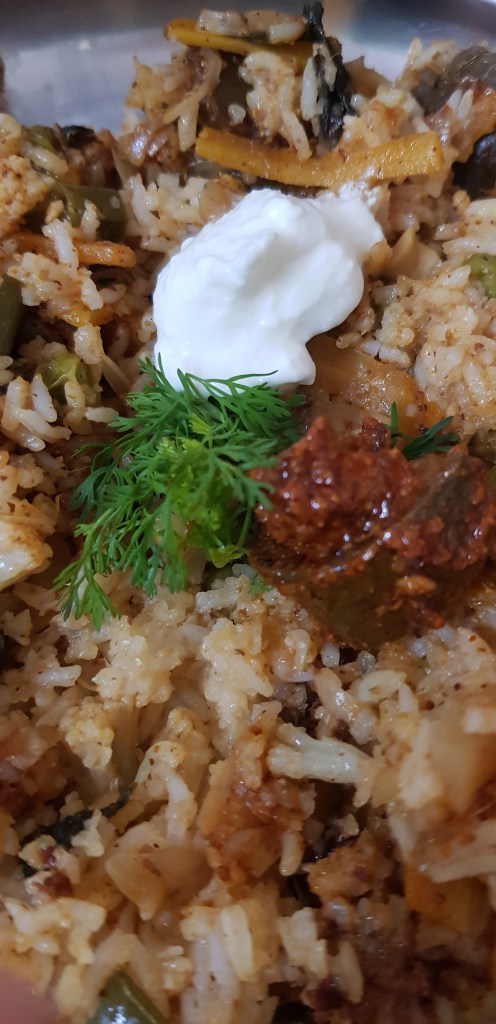
P.S: Forgive me for my mediocre photography( bad pics) skills .
Being a Food lover, my husband has been very experimental in his cooking. Last year when I was down with fever, he made this simple dish with Rasam and I literally felt blessed for this skill of his. During Fever, the taste in our mouth feels bland or bitter and you feel don’t have an appetite too. Rasam with almost piping hot but mashed rice and this curry for a change made me feel so better. Nimmakaya Pachadi/Lemon Pickle with a little ghee is another savior during this time. This recipe is a very simple one but do not add too much of Potato(Aloo/Bangaladumpa) while cooking for someone who is down with fever as it may cause indigestion.
The recipe is as follows ,try and let me know your opinions and suggestions.
Preparation time : 20 Minutes
Cooking Time : 15 Minutes
Ingredients :
Recipe :
Things to Note :
Do not add the lemon juice when the stove is on, as this might make the curry taste a little bitter.
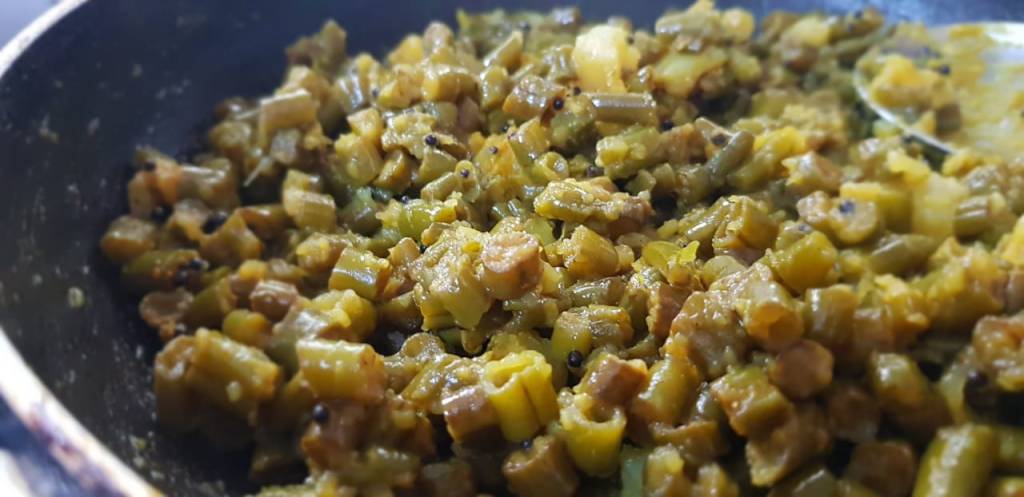
Dondakaya/Ivy gourd/Tindora/Tendli/Kunduru whatever it is called is one of my favorite vegetable once i had the taste of it. Until I finished my masters, Dondakaya was forbidden vegetable at home for the food fad just like “Ladyfinger- the miracle mathematics teacher”. The old wives’ tale is that dondakaya is said to make a person thickheaded. The story goes on like this “Once upon a time the famous poet Kalidasa was sitting in a garden and wanted to write a poem but he could not get even a thought. He tried for hours but no idea had stricken his mind and after hours of trying he mentioned to his mother about his experience and his mother had told him that he was sitting under the Dondakaya creeper which gave this genius poet a writer’s block. All the stories and nostalgia aside dondakaya is said to be a good cure to type 2 diabetes .
This recipe takes very little oil as the dondakaya slices are steamed and so this curry does not feel heavy. The Menthi podi/Menthi karam is also said to soothe an upset stomach. Menthi karam/Menthi Podi can be made and stored in a container as it is used in many of our family dishes.
Recipe to make dondakaya Menthi karam:
Preparation time : 20 minutes
Cooking time : 15 minutes
For Dondakaya Menthi karam :
Process :
The Menthi karam/ Menthi podi recipe will be posted shortly as i forgot to click pictures the last time i made this powder.

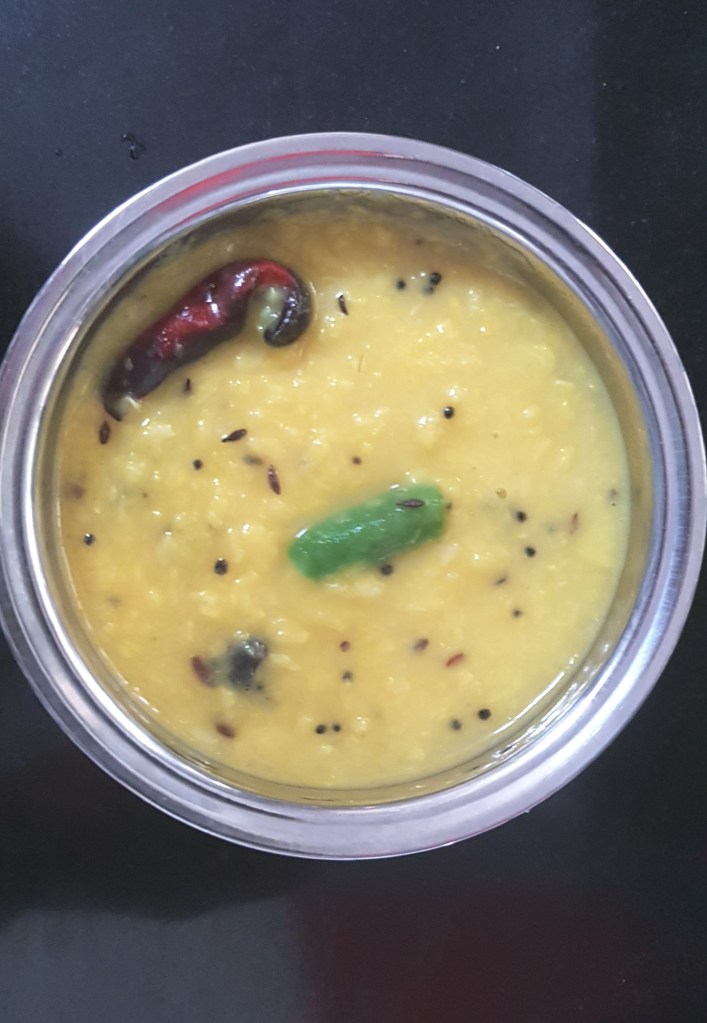
Grandparents have always been my “rescue board”in almost every situation during my childhood. I just loved it when my grandparents visited us and they always came bearing gifts :D. They were natural storytellers and we were so immersed in their stories that sometimes we did not even realize we had finished eating our food which we hated. During Karthika masam my Thathamma( my grandfather’s mother) came to visit us once and she usually had this light-on-the-stomach dal all the time. At the look of it, I never wanted to taste it and so she started to tell me the story of how a kind girl named Poli attained swargam (heaven) through sheer bhakti(prayer) and purity of heart. By the time the story was over, i finished a bowl of rice with this pesarakattu and Chamadumpala fry and was left with wanting more. She had prepared this in jiffy for me and I still remember that day.
Pesarakattu(Moong dal with ghee tempering) makes a good pair with rice and my favorite chamadumpala fry or potato fry. Its a dish that is fasting-friendly and its easy to digest. Its usually made in summers to cool the body.
Cooking Time : 10 minutes
Preparation Time: 5 Minutes
For Pesarakattu :
For Tempering/Tadka :
For Pesarakattu :
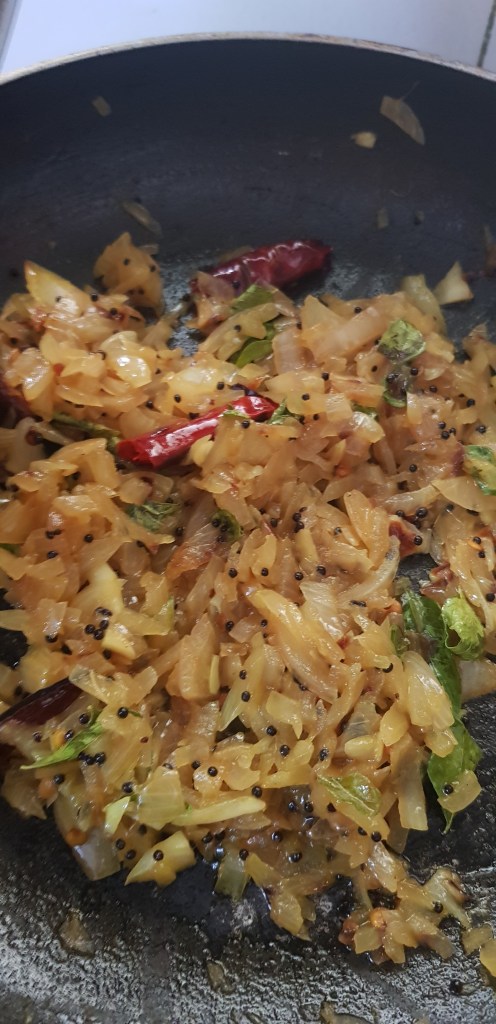
Frequent transfer and a touring work schedule meant my father-in-law had to travel for significant distances over train. During such journeys, he would always insist on taking food packed from home for taste and hygiene reasons. Invariably, the packed food would include Daddojanam (curd rice tempered with spices and curry leaf) and Chapatis. And for chapatis, their preferred accompaniment was Ullikaram (caramelized tempered finely chopped onion recipe).
The dish gets its sweetish flavour from the sugars released by onions upon caramelizing, tanginess from tamarind extract, hint of spice from the tempering and green chillies. My mother-in-law prefers to add vaamu (ajwain/carom) and miriyalu (black pepper) to temper my husband’s over-indulgence and soothe his resultant upset stomach. Having tasted it only after marriage, I am yet to develop the same passion for this dish as my husband and his family. It is a simple recipe where major prep work goes into finely chopping onions (my husband’s mild OCD crops up here when he insists all pieces be about 3 mm squared). He has recently acceded to using Pigeon Onion chopper ( https://www.amazon.in/Pigeon-Stovekraft-Plastic-Chopper-Blades/dp/B01LWYDEQ7/ref=sr_1_3?crid=1BI7XXWPPSYPL&keywords=pigeon+handy+chopper&qid=1573902591&s=kitchen&sprefix=pigeo%2Ckitchen%2C474&sr=1-3 ) much to my relief as against manually chopping onions at a glacial pace which was the norm earlier.
The ingredients and the recipe are as follows, try and do share your own variations and let me know how you like it!
Preparation time : 20 minutes
Cooking time : 30 minutes
For Ullikaram :
For tempering/tadka/popu :
How to prepare Ullikaram :
This is an example post, originally published as part of Blogging University. Enroll in one of our ten programs, and start your blog right.
You’re going to publish a post today. Don’t worry about how your blog looks. Don’t worry if you haven’t given it a name yet, or you’re feeling overwhelmed. Just click the “New Post” button, and tell us why you’re here.
Why do this?
The post can be short or long, a personal intro to your life or a bloggy mission statement, a manifesto for the future or a simple outline of your the types of things you hope to publish.
To help you get started, here are a few questions:
You’re not locked into any of this; one of the wonderful things about blogs is how they constantly evolve as we learn, grow, and interact with one another — but it’s good to know where and why you started, and articulating your goals may just give you a few other post ideas.
Can’t think how to get started? Just write the first thing that pops into your head. Anne Lamott, author of a book on writing we love, says that you need to give yourself permission to write a “crappy first draft”. Anne makes a great point — just start writing, and worry about editing it later.
When you’re ready to publish, give your post three to five tags that describe your blog’s focus — writing, photography, fiction, parenting, food, cars, movies, sports, whatever. These tags will help others who care about your topics find you in the Reader. Make sure one of the tags is “zerotohero,” so other new bloggers can find you, too.
